
Wondering on how to create a soft focus effect in your GIMP? It’s no longer a challenge! This tutorial will help you in knowing how to duplicate the Orton technique using the free image editor GIMP. Along with this, you will familiarize yourself with palette and also take the advantage of its different Modes and Opacity control. This tutorial accept any image for this tutorial.
How does it work?
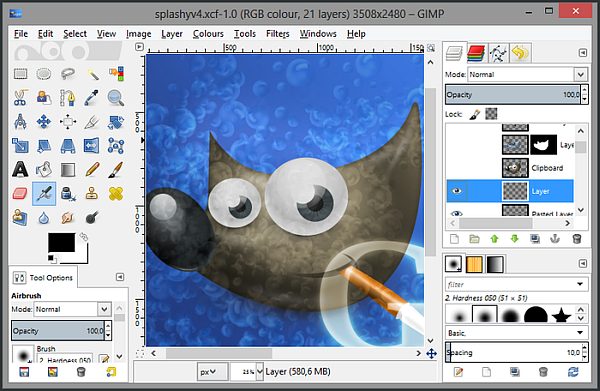
The process is simple and straightforward. Firstly, who do you require to do? Open your image in your GIMP and create a duplicate image. To open your photo, go to File > Open and then navigate to the storage location on your computer. Confirm the image and then click the Open button. Duplicate the background layer to get two versions of the image. Now you can shift to Layer > Duplicate Layer or click on the Duplicate Layer button at the bottom of the Layers palette. If the Layers palette is not clear, go to Windows > Dockable Dialogs > Layers.
How to add Soft Focus Effect
To effect soft focus, just click on the uppermost layer in the Layers palette and ensure that it’s selected. Now go to Filters > Blur > Gaussian Blur. Then position the little chain icon beside the Horizontal and Vertical input controls ensuring it is not broken. This step is important in that the blur is applied evenly in both the vertical and horizontal directions. Use the little arrows to change the amount of Gaussian Blur which will be applied to the image. The amount will change depending on the size of the image and your personal taste. Is the image in soft focus? Yes, but it doesn’t look very impressive.
How to Change the Layer Mode
Looking at the top of Layers Palette you will see a label called Mode with the word Normal to the right of it. Ensure that the uppermost layer is active and click on the word Normal and, in the drop down list that opens, select Screen. Shortly you will see that the image has taken on a soft and dreamy appearance. Add another Layer and Apply the Soft Light Mode. Firstly, get to copy the uppermost layer that has had the Gaussian Blur applied. Now click on the middle layer in the Layers palette and change the Layer Mode to Soft Light.
Contrast should increase and if the effect is too strong for your taste, click on the Opacity slider. Slide the control to the left until the image is as fine as you expected. Now you can experiment by replicating more layers and trying different Layer Modes and amounts of Gaussian Blur.